

Hello and welcome to another needlework class, today we are going to learn how to produce an unfinished embroidery patch and finally stitch as an appliqué. If you are new here, thank you for coming, and get ready for a fun class.
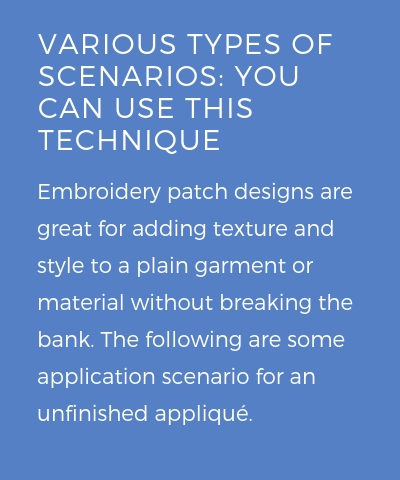
The technique we are learning today involves how to achieve unfinished edges on your embroidered patch and finally stitch as an appliqué on the material of choice; it may be a T-shirt, a tablecloth, a backpack or any cloth you desire. In this class, we have chosen my kid’s favorite superhero character, Spiderman. We will be using the head alone for this tutorial. I have taken the liberty to place at the bottom of the page sources to download these designs; in various embroidery formats and sizes; the designs here are not for commercial purposes or intent to sell but solely for the aim of teaching and educating the general audience. You can download free embroidery designs here and if you have any special or customized requirements, please post your project here.
-
Heavy Embroidery on Lighter Garments: The heavier embroidered patch is first produced and then placed on to a lighter garment to avoid wrinkling the fabric (known as puckering). Puckering is when your fabric looks rumpled and not even. To avoid this, we use the base material of patch as a tight firm fabric and not a soft or squeezed cloth that will spoil the design. Once you have your heavily stitched embroidery patch ready, you can now stitch as an appliqué (with satin border stitches) on any lighter weight garment.
-
Smooth & Skin Friendly Backside of Embroidery: Usually, when we are done with the standard embroidery, you will notice that the back of the embroidery looks rough with bobbin thread and residue of backing stabilizer and even when we try to remove the bits with the appliqué scissors, it still remain rough. So with this technique, the placement of the embroidery patch over the new garment-in this case the t-shirt- will hide all the rough threads on the backside and ensure the material stays clean and is safe on the skin.
-
To Fullfill Large Production Orders: If you have large orders to fulfill, you can order unfinished embroidery patches from other vendors and stitch as an appliqué with your embroidery machine to fasten your production process. We also advise having a digitized border file to stitch the unfinished embroidery piece onto the chosen garment
-
Cover Exisiting Logo: An embroidered patch also allows you to cover an existing design or replace an old piece with a new one. If your base material is still okay, but the pattern is worn, simply unfix the old layout of the design and replace with a new patch.

- The appliqué material: we recommend is a solid fabric firm enough to hold the stitches together without loosening the thread. Natural material such as cotton, wool, denim, twill, and any tight weave fabric will work well. The stronger the base foundation fabric, the better the satin stitched edging and finishing of the appliqué. In this tutorial, velveteen and mesh fabric is used for the head and eyes. You can use any material, but it must hold your design firmly else it will loosen afterward.
- A good quality water-soluble backing: we recommend E-zee BadgeMaster water soluble because the embroidery design can be stitched directly onto the product which is then washed off but the embroidered patch remains. This is excellent for making freestyle patches on laces, cutwork, and badges or emblems.
- A temporary adhesive spray: helps you to place the patch on the correct location and have a good view before the final stitch. Don’t worry, the glue is water soluble and easily washes off the fabric. You can buy the adhesive spray from hereor at any good brand store and it will serve the same purpose.
- A medium weight cut-way stabilizer: E-zee Weblon stabilizer is recommended here, and it helps to hold and keep your fabric together to prevent any mishaps like a tear during the embroidery process.
- The base garment or material: we will use a child cotton T-shirt for this tutorial, but you can use anything you want. It can be a curtain, a bedspread; you pillow cover, tablecloth, napkin, and your kids’ item too. Other tools are the appliqué scissors, an embroidery machine, threads, needles, and other instruments that will be mention during the class.

Get Started With Unfinished Embroidery Patch Design
-
To begin with, an unfinished embroidery patch, print out the required pattern’s production sheet which is included in the design package. This gives you an overview of the workspace and how much material you need.
-
You can open the design program on your computer screen for any adjustment or alterations to the size or layout. However, we recommend you also adjust the size of the second digitized file to avoid contradictions in the designs but always remember some programs may spoil the parameter of the embroidery file if you overdo upsize and downsize.
-
Pre-cut the appliqué’s fabric in sizes of all the shape involved in the design an inch more than the original design on the sheet. In this case, pre-cut the velveteen and the white mesh fabric for the head and eyes, all excess fabric will be cut off with the appliqué scissors. We pre-cut the designs more than the original to give space for error and mistake to be fixed.
-
Set your entire tools on the table before starting the program.
EMBROIDERY ON HIGH-DENSITY WATER SOLUBLE
-
This material allows you to practice your embroidery design without wasting fabrics and allows you to get the hang of it too.
-
Load your designs format into your embroidery machine; the required setups are either DST or PES.
-
Use the required size of the embroidery hoop and frame water-soluble material: If this is your first time of trying the water-soluble fabric, you will enjoy every step as it allows you to embroider a design which when placed in water, disappears leaving the embroidery stitches. It shows the innovations in embroidery, and it’s lovely.
-
To avoid the water-soluble sheet squeezing during embroidery and to get a nice embroidery design, use a double layer water soluble application that will allow you to increase its stability and gives control to the handle the weight of the embroidery on it.
-
Check the upper and lower tension setting before you start embroidery: The tension of the machine can be affected by several factors such as the thread thickness, machine speed, thread type, material types, and the stitch length. To avoid any skips during embroidery, adjust the tension setting and test it on a portion of the material before you start.
Before we go into the first step, you can start by practicing with the fabric and water-soluble material to get in the mood.


Stitch Red Fabric As APplique & CUt OFF Excess Part [STEP-1]
-
For the Spiderman head embroidery stitch, first, make the placement outline stitch on your design sheet to be embroidered so that you know where to put your fabric.
-
Next, take the red velveteen material for the Spiderman head and place it on the water-soluble making sure it covers all the edges of your placement stitch evenly.
-
Once the appliqué material is set, a tack down stitch will run across the cloth and unto the water-soluble material to keep the fabric stationary
-
Use the appliqué scissor to cut away any extra cloth to produce a precise, and beautiful oval face of the Spiderman. You should get a nice egg shape; this is your first step, and you are doing great. Let’s continue.
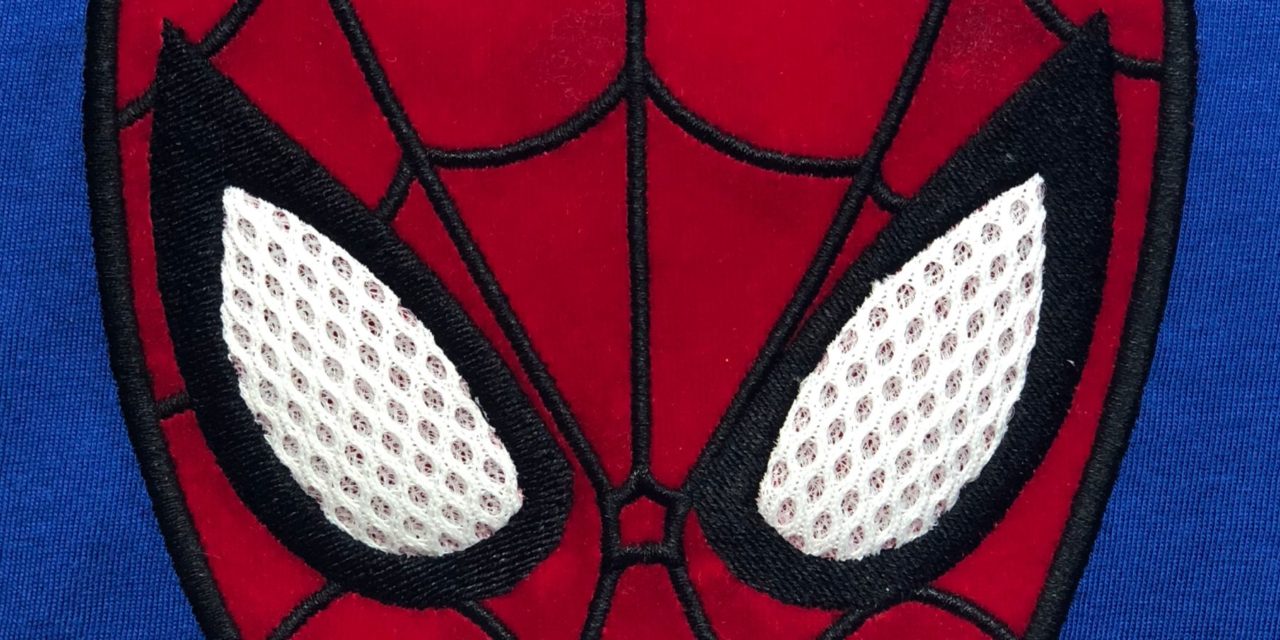
STITCH The WHITE MESH Applique For Eyes [STEP-2]
-
To get the exact position for the eyes, stitch the eyes placement outline stitches first. It will allow you to know the position of mesh cloth. Ensure that the stitch stops at the top to avoid cutting any hoop. We have stop points at the top for your convenience.
-
Next, place the white appliqué down on the red velveteen, and stitch in place. Do the same the other eye, and you are coming along nicely.
-
Now, gently cut away the excess cloth to make the eyes pop. At this point we have a plain face and eyes done. The following step is to create the web patterns on the face to get the actual head of Spiderman.


Rest Of Embroidery Continues [STEP-3]
-
With the web design of the face already in place, just allow the machine to follow the rest of the embroidery process to create the unfinished embroidery patch
-
Take the hoop when the web design and edges are done. Cut off any excess water-soluble sheets around the appliqué to make it finer and cleaner.
-
Flip the appliqué over and use the scissors to remove as much of the sheet before spraying it with water to remove any excess water-soluble sheet left
-
Your piece is looking beautiful, and it is ready for the next step.
Print The Production Sheet Of Second Design & Get Ready[STEP-4]
Now it’s time to start stitching your unfinished embroidery patch and finally stitch as an appliqué to give it a permanent fix on the garment
Print the other production sheet of a design with the final appliqué outline
-
It consists of basically of three types of stitches: the running stitch and final satin border stitch. The Running stitch consists of two types of stitches; the placement and tack down stitch. The final satin border stitch covers and smoothens the edge to create a perfect look.
-
Make sure you use a good backing stabilizer: during embroidery work, the backing stabilizer is vital to the embroidery as a supporting foundation for the fabric, to be removed afterward. However, the backing is sometimes left on the appliqué to allow the design last long on the garment with repeated laundering. We will be using the Ezee Weblon stabilizer for this tutorial.


Placement Of unfinished Embroidery Patch Over T-shirt [STEP-5]
-
After the placement stitch on the shirt, the machine will run and stop at the top to give you the exact location where the appliqué will be placed.
-
Now spray the appliqué with temporary glue and attach to the placement area on the T-shirt. It will allow the machine to stitch the design on the final appliqué without breaking the needle or causing any problems to the machine.
-
Align the unfinished embroidery patch on the T-shirt in the placement area if needed and finally tack down stitches will hold your appliqué on the garment permanently.
Final Satin Border To lock patch over the garment [STEP-6]
-
A zigzag underlay stitch will run thick satin border to hold the patch firmly on the t-shirt
-
A final satin border will run and stitch the appliqué permanently over the garment. This satin border acts as the permanent seal and gives a natural embroidery look on the shirt
-
Remove the shirt from the machine and smile at how beautiful you did.

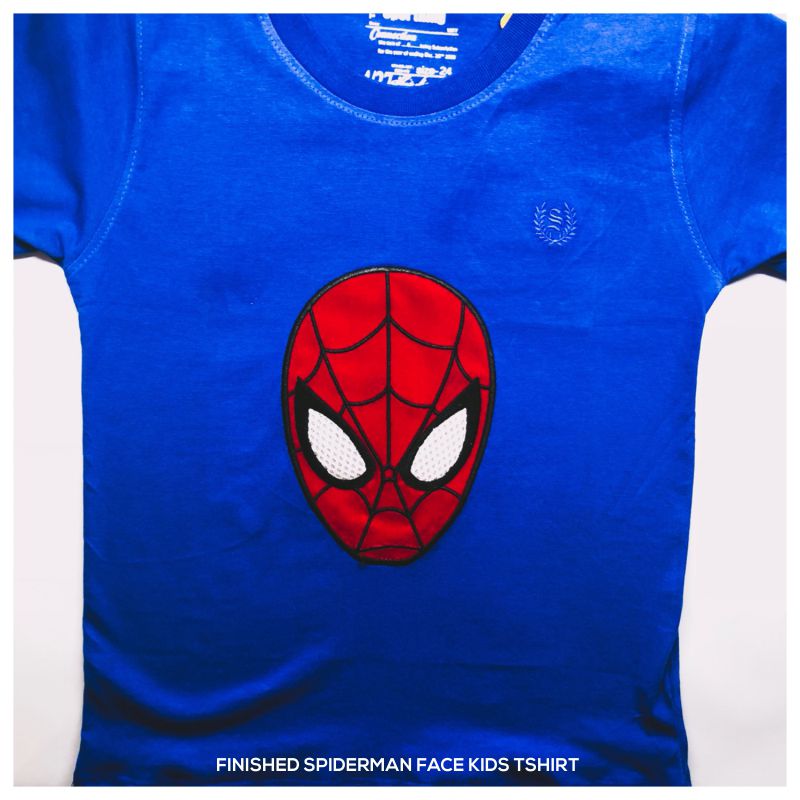
Your Tshirt is Ready
The final product gives the impression that the shirt comes with the design imprinted on it as all the rough back is hidden in the shirt and am sure your kid will love their favorite superhero character on their t-shirt.
Download Links are given below.
If you have any questions or if this article has solved or answered your doubt, please share with your friends and subscribe to our blog. Furthermore, we will love to see your designs and comments or suggestions to make us better.
Thank you for visiting our page.
Happy stitching!
CLICK HERE to download Spiderman Embroidery Design
 +1-844-278-1717
 +44-870-068-1953
 +61-488-807-520


